Skip to product information
1 of 1

MAJESTRONICZ

3 DOF (Degrees of Freedom) Robotic Arm

3 DOF (Degrees of Freedom) Robotic Arm

Regular price Rs. 300.00
Regular price Rs. 450.00 Sale price Rs. 300.00
Sale Sold out
Taxes included. Shipping calculated at checkout.

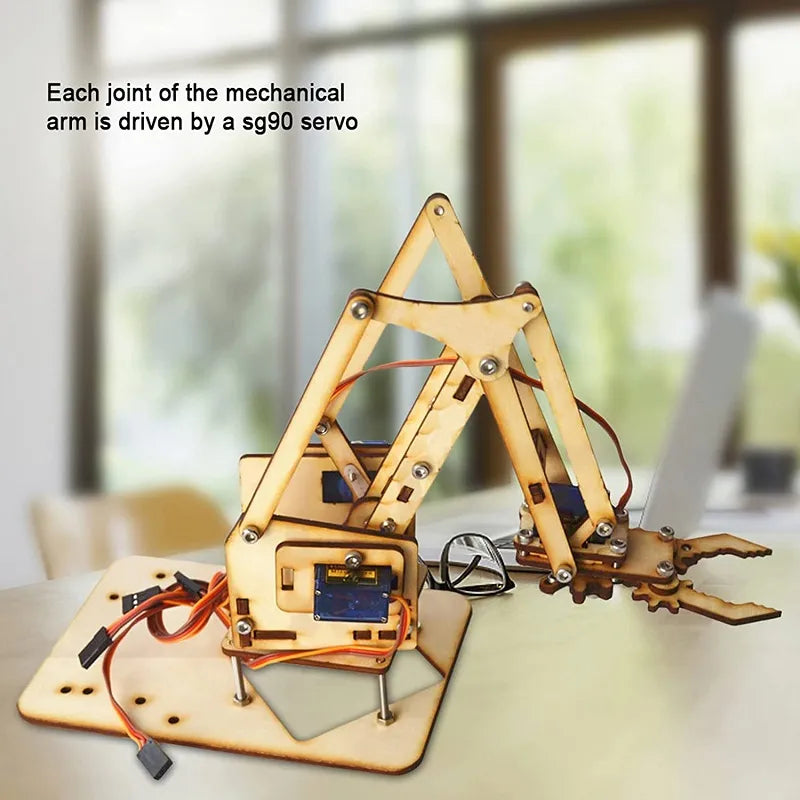
A 3 DOF (Degrees of Freedom) Robotic Arm made from wood is a great project for beginners in robotics or DIY enthusiasts. This type of robotic arm can perform basic movements like up/down, left/right, and rotation, giving it versatility for simple tasks. Here's a simple guide on how to build one:

Materials:

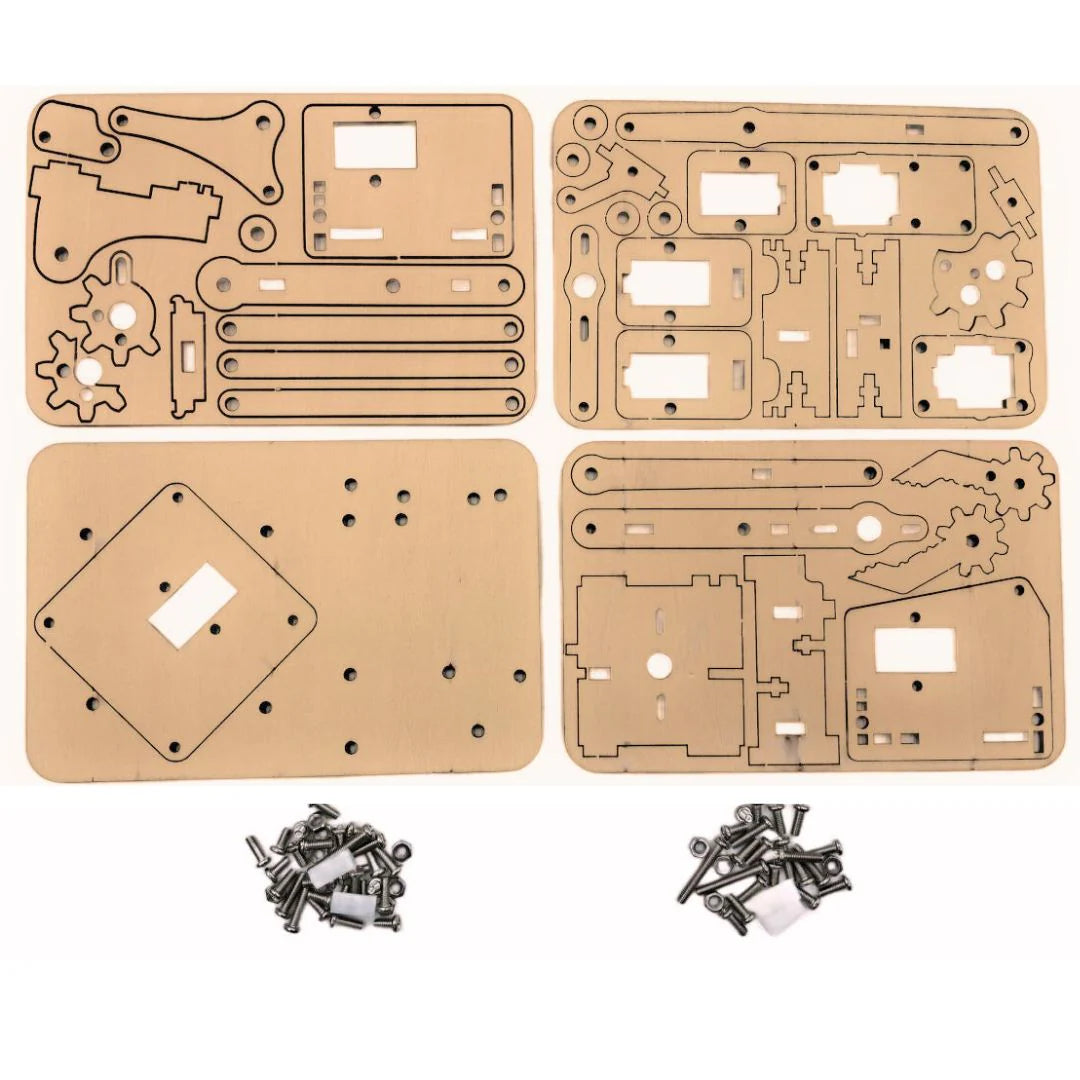
  1. Wood: Thin plywood or medium-density fiberboard (MDF) sheets for constructing the arm's links and base.
  2. Motors: 3 servos (standard size, e.g., SG90 or MG90 for light applications) to control the arm's movements.
  3. Screws and Bolts: For connecting parts together securely.
  4. Wires: For connecting the servos to the power supply or controller.
  5. Controller: An Arduino (e.g., Arduino Uno) to control the servos.
  6. Power Supply: A 5V power supply (or batteries) for the servos and Arduino.

Design Overview:

  1. Base: The base holds the entire arm structure. It needs to be stable, so use a sturdy piece of wood.
  2. Shoulder: This part connects the base to the upper arm and allows it to rotate horizontally.
  3. Elbow: The second joint, controlling the movement of the upper arm, which allows the arm to bend or extend.
  4. Wrist: The last part of the arm, allowing vertical movement or fine-tuned adjustments.
  5. Gripper: At the end of the arm, you can attach a simple claw or hand to pick up objects.

Building Steps:

  1. Cut the Wood Pieces:

    • Use a saw or laser cutter to cut the wood into the following parts:
      • Base (a square or circular piece to mount everything)
      • Arm Links: Cut three pieces for the upper arm, lower arm, and wrist.
      • Servo Mounts: Create brackets or slots where the servos will sit securely.
  2. Assemble the Joints:

    • Attach the servos to the joints of the arm.
    • Ensure that each servo has a wooden piece attached to its output shaft to move the arm’s segments.
    • Use screws and bolts to secure the pieces together while allowing rotation.
  3. Attach the Gripper:

    • You can design a simple gripper with wooden claws or use a pre-made plastic one. Attach it to the end of the wrist segment.
  4. Wiring:

    • Connect the servos to the Arduino using jumper wires.
    • Make sure the servos are powered properly. If necessary, use an external power supply for the servos to avoid overloading the Arduino.
  5. Programming the Arduino:

    • Write a simple program using the Servo library in Arduino IDE to control each of the three servos. You can start by controlling them one at a time with basic commands to move the arm.
View full details